Craving a fresh, homemade bread that has a little something extra? These Crusty Walnut Rolls are exactly what you need! With a rustic, crisp crust and a hearty, nutty interior, they offer the perfect combination of texture and flavor. Whether you’re looking for a snack, a side dish, or even something special for breakfast, these rolls deliver every time.
What Makes These Rolls Special?
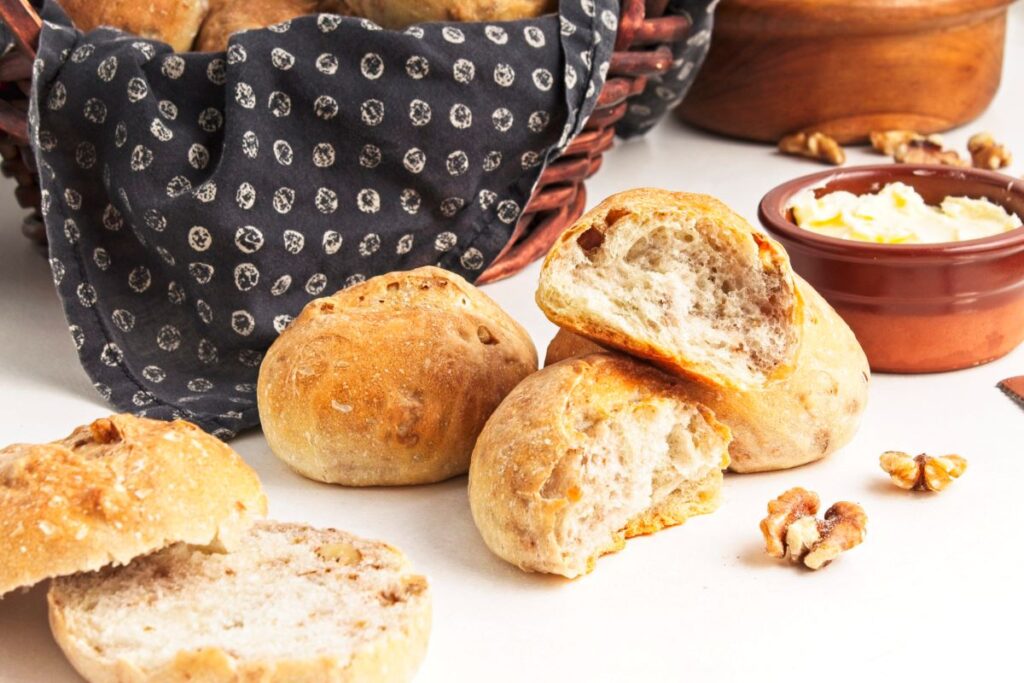
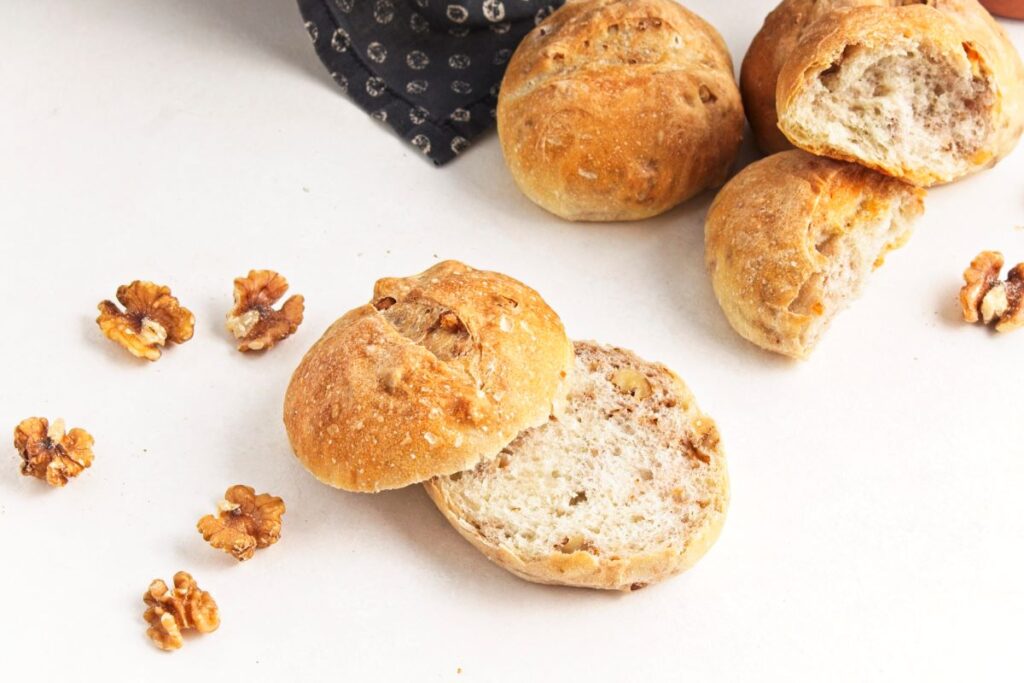
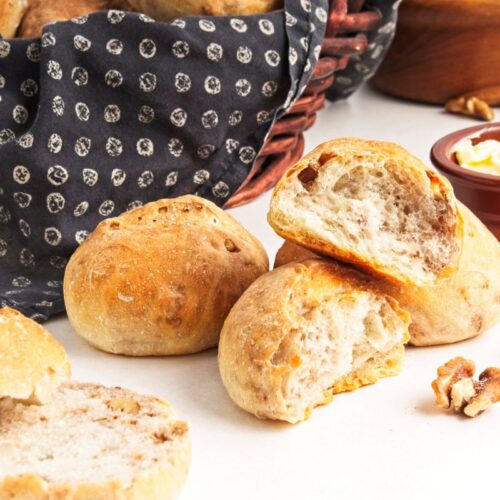
These walnut rolls bring a unique twist to your typical bread roll. The coarsely chopped walnuts scattered throughout add a satisfying crunch and a nutty richness to every bite. The crust, made crisp and golden through the steam-baking process, contrasts beautifully with the soft and tender interior. It’s the kind of bread you’ll want to tear into right away!
Simple Ingredients, Amazing Results
You only need a few pantry staples—flour, yeast, salt, water—and walnuts to create these delicious rolls. The magic happens in the kneading and the slow, gentle rise. The yeast works quietly, and the water brings the dough together, creating a sticky, elastic texture that transforms into the perfect loaf after baking.
The walnuts are the star here. They not only bring flavor but also add a lovely crunch. Don’t be afraid to mix them in thoroughly so that each bite has that satisfying texture.
Tips for Getting That Perfect Crust
One of the highlights of these rolls is the crispy crust. Here’s a trick: after shaping the rolls, slice a deep line across the top just before baking. This gives them that beautiful bakery-style look. Another important step is adding steam to the oven while baking. By throwing a couple of ice cubes into a heated pan at the bottom of the oven, you create the steam that helps form that perfectly crusty exterior.
The steam helps lock in moisture, giving the rolls their signature texture—crispy on the outside while staying soft and light inside.
How to Enjoy These Rolls
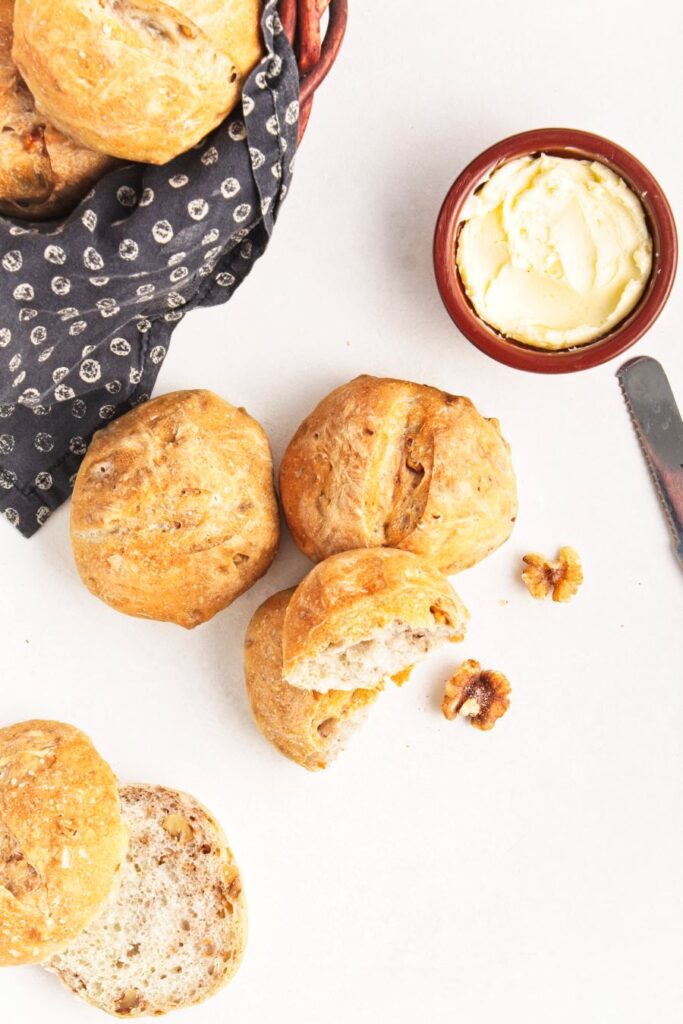
These Crusty Walnut Rolls are so versatile, they pair well with almost anything. Try serving them with a bowl of hearty lasagna soup, or slice them in half and spread them with your favorite jam for breakfast. They also make a great snack on their own, especially when they’re fresh from the oven. The nutty richness from the walnuts makes them a filling and satisfying choice.
And if you’re planning a special dinner, these rolls will definitely elevate your meal as a side dish.

Storing and Serving
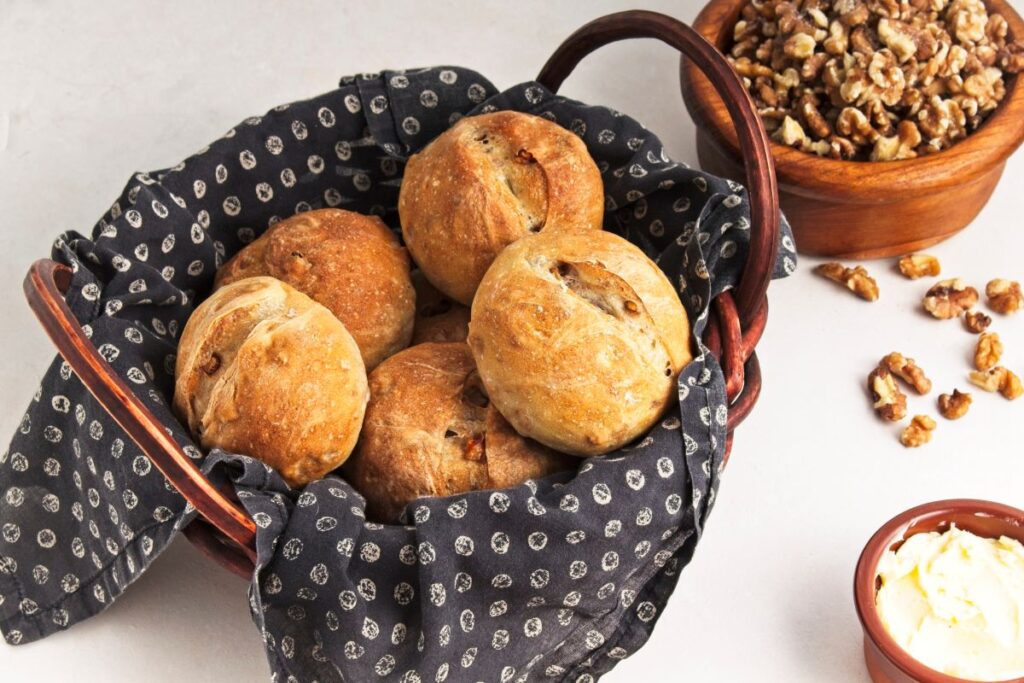
To keep these rolls fresh, store them in a sealed container at room temperature, and they’ll last up to two days. But to be honest, they rarely last that long—they’re just that good! If you need to save some for later, they freeze well, too. Just let them cool completely before wrapping them tightly and placing them in the freezer. When you’re ready to enjoy them again, just reheat in the oven for a few minutes.
Crusty Walnut Loaves
Ingredients
- 4 cups all-purpose flour
- 2 ¼ teaspoons instant yeast
- 1 teaspoon salt
- 1 ½ cups + 1 tablespoon warm water no hotter than 115°F
- 1 ½ cups coarsely chopped walnuts
Instructions
- In a large bowl, combine the flour, salt, and yeast, stirring until everything is evenly mixed.
- Add the warm water and stir until a sticky dough forms.
- Turn the dough out onto a lightly floured surface and knead using a stretch and fold method. The dough will be sticky, but try to add as little extra flour as possible.
- Knead for 8-10 minutes until the dough becomes smooth and elastic.
- Stretch the dough out and sprinkle the chopped walnuts on top. Fold the dough over and continue kneading until the walnuts are well distributed throughout.
- Place the dough in a greased bowl, cover it with plastic wrap, and let it rise in a warm place until it doubles in size, about 1 ½ to 2 hours.
- Once risen, turn the dough out onto a lightly floured surface and divide it into 10 even pieces.
- Tuck the edges of each piece into the center to form a ball, making sure the walnuts stay inside the dough.
- Place the dough balls on a parchment-lined baking sheet, leaving some space between them. Cover and let them rise again for 45-60 minutes, until they double in size.
- When the dough is almost ready, preheat your oven to 415°F. Place an extra baking pan or cast-iron skillet on the lower rack of the oven to heat up.
- Use a sharp knife or razor to slice a deep line across the top of each roll.
- Just before placing the rolls in the oven, throw a couple of ice cubes into the heated pan to create steam.
- Bake for 25-30 minutes, until the rolls are golden brown and firm all around.
- Remove from the oven and let the rolls cool completely before eating. They are best enjoyed within 2 days of baking and can be stored at room temperature in a sealed container.